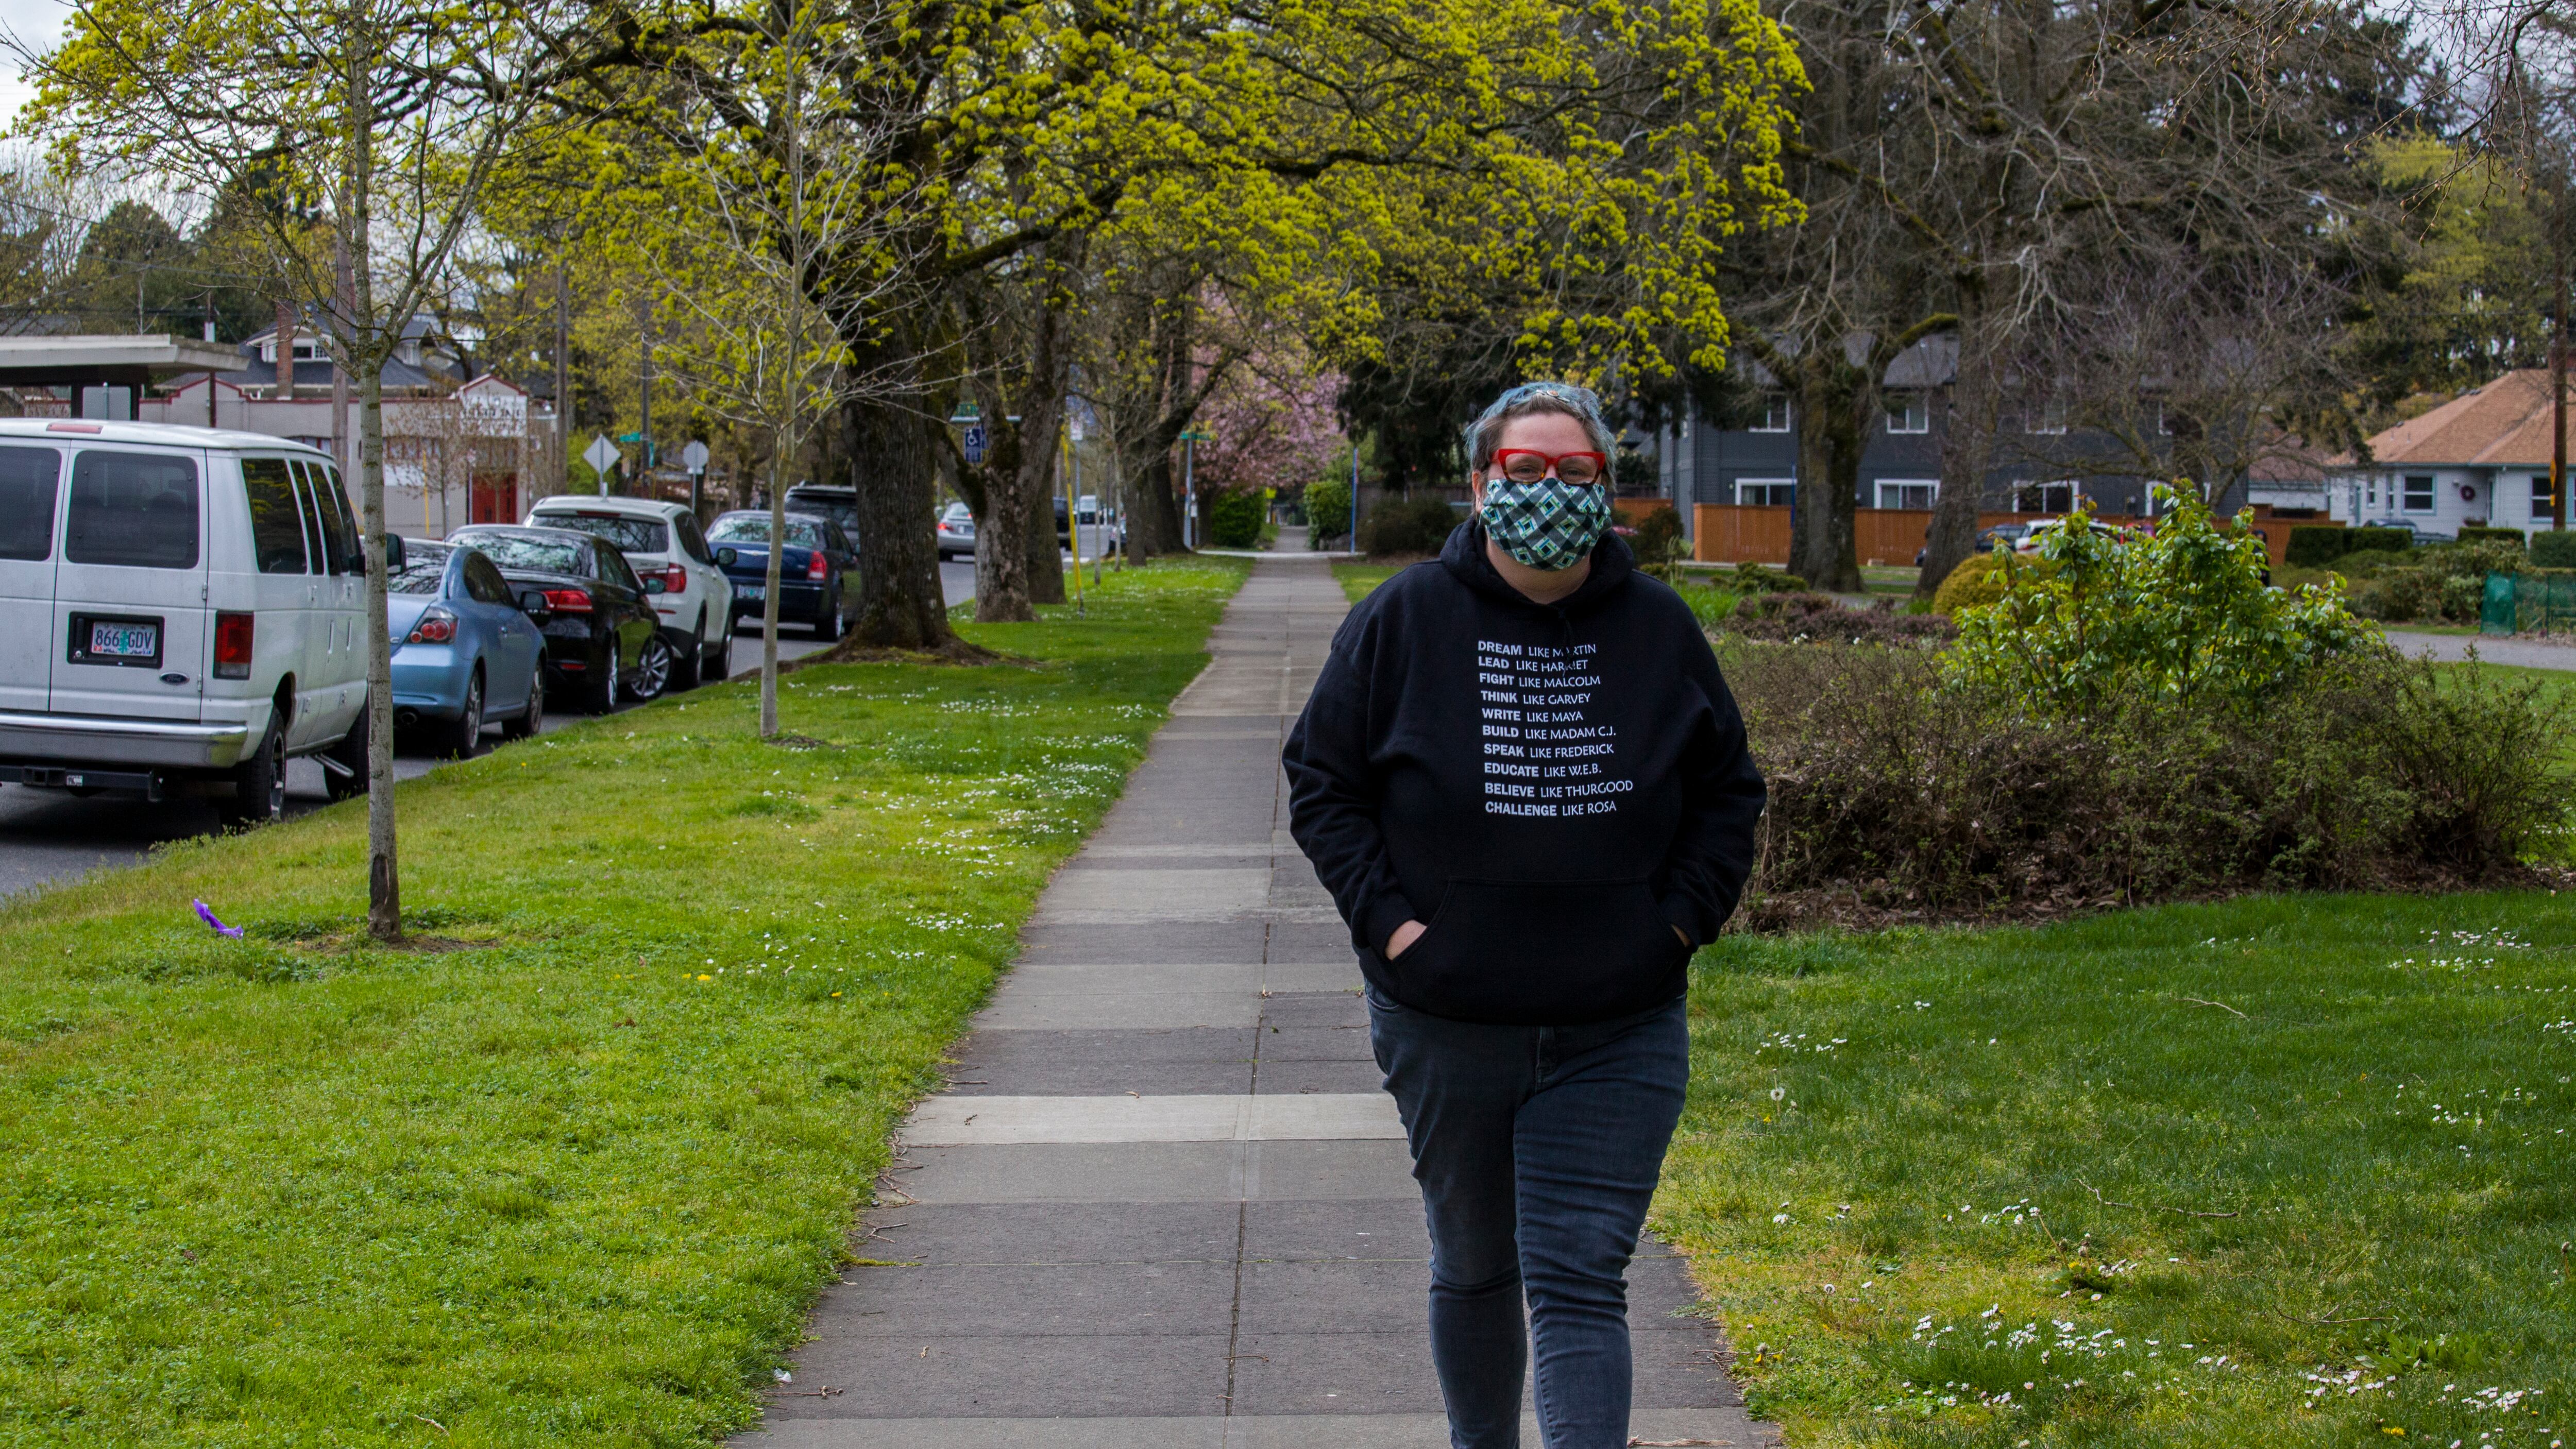
Portland is now a city of masks.
Faces in the streets look increasingly like those in a hospital ward or at a Rose City Antifa rally: bandannas, DIY cloth masks, even N95 respirator masks that are supposed to be reserved for frontline health care workers.
That's a recent twist. On April 3, the U.S. Centers for Disease Control and Prevention recommended that all Americans wear cloth masks while in public. Later that evening, Portland-area health officers echoed that same recommendation.
The new advice came as officials realized far greater numbers of people could be carrying the virus without showing symptoms.
Medical-grade masks are scarce, and a scientific consensus behind the benefits of DIY cloth masks is still emerging. But many experts say a homemade face covering is better than nothing, especially for reducing droplet transmission from the mask wearer to those around them.
"There's not a lot of science behind cloth masks," says Dr. Jennifer Vines, the tri-county public health officer, adding, "We think [it] offers some benefit in containing droplets and, potentially, for those people who may have the virus and not be showing symptoms."
In a virtual press conference, the tri-county doctors warned Oregonians that homemade cloth masks need to be laundered after every use with warm water and detergent, and that they should not be worn if dirty. They added that one should avoid adjusting the mask frequently, and use a mask that fits securely.
"The tighter the weave—like thread counts on sheets—the thicker the cloth, the better it fits your face, the better the protection," says Dr. Sarah Present, the Clackamas County health officer. "They can be itchy. You want to be careful that you are not adjusting it, and you need to avoid reaching under it to touch your nose or mouth."
For advice on how to make a simple and useful face covering, WW turned to someone who makes hundreds of them a week: Portland seamstress Alyson Clair, who has a degree in apparel design and is an organizer of the 8,000-member Facebook group Crafters Against COVID-19 PDX.
Clair says sewing a mask isn't as daunting as it sounds.
"There's not really a wrong way," Clair says. "It really comes down to personal preference. Some people are more comfortable just cutting out a rectangle. Make whatever works best for you to make. If I personally can sew, anybody can sew. Get some confidence. You can do it."
We asked her for help. Last weekend, Clair walked us through the process of mask making, with step-by-step instructions. (She has also produced a video tutorial, which you can find at the bottom of this page.)
Here's how to make the same mask Crafters Against COVID-19 are sewing for people waiting in Portland emergency rooms.

You will need: Cotton fabric, elastic, scissors and sewing materials (a sewing machine is preferred). Before making the mask, wash the fabric so it is pre-shrunk.
Step 1: Using this downloadable pattern, cut out six pieces of fabric. Machine-washable is preferred.
Step 2: Separate the pieces into two stacks of three.
Step 3: Layer the two stacks on top of each other like a sandwich so the top layer of stack 1 is touching the top layer of stack 2.

Step 4: Sew along the widest part of the mask.
Step 5: Open the mask. It will now have a duckbill shape. If it doesn't look great at this point, Clair says, don't panic. "The thing to know is, we don't know if these are single-use disposable items," says Clair, "so do not spend a lot of time making them the most beautiful thing ever. [It's about] function, for sure."
Step 6: Sew along the entire perimeter of the mask.
Step 7: Cut two 6-inch pieces of elastic. On the left side of the mask, sew one end of the elastic to the top corner, and one end of the elastic to the bottom corner. Do the same on the right side of the mask. These are your straps, to tuck behind your ears.
Step 8: Congratulations, your mask is ready!
Video tutorials:

